iOS App Store: Layout animation
An example of creating a card layout inspired by the iOS App Store with Modal functionality using Motion's animateLayout for shared element animations.

Tutorial
Introduction
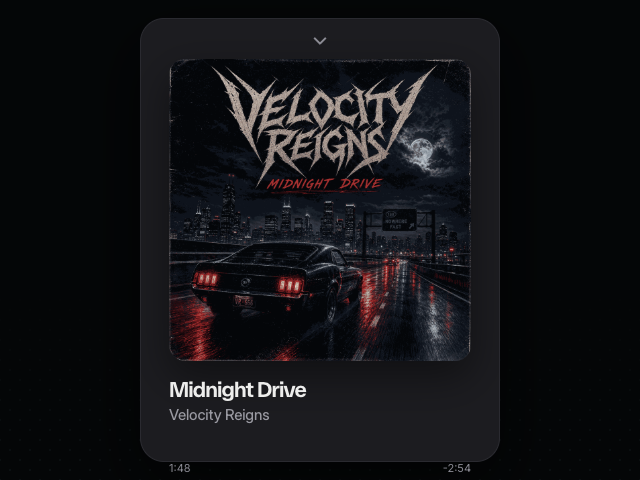
The iOS App Store example recreates the card expand/collapse animation seen in Apple's App Store. When you click a card, it smoothly expands into a full-screen modal with additional content visible. Clicking outside the modal or pressing Escape closes it with the reverse animation.
This tutorial uses the animateLayout function from Motion+. This function automatically animates elements between layout states using the FLIP technique. By adding data-layout-id attributes to elements, Motion tracks their positions before and after a DOM change, then animates the difference.
Get started
Let's build the card grid layout with some sample content cards. The key is adding data-layout-id attributes to elements we want to animate:
<div id="app-store">
    <header>
        <div>
            <h2 class="store-title">Today</h2>
        </div>
        <div class="avatar">
            <img
                src="/authors/matt-perry.png"
                alt="Photo of Matt Perry"
                width="40"
                height="40"
            />
        </div>
    </header>
    <ul class="card-list">
        <!-- Card A -->
        <li class="card" data-id="a">
            <div class="card-content" data-layout-id="card-container-a">
                <div
                    class="card-image-container"
                    data-layout-id="card-image-container-a"
                >
                    <img
                        class="card-image"
                        data-layout-id="card-image-a"
                        data-layout="preserve-aspect"
                        src="/photos/app-store/a.jpg"
                        alt=""
                        style="top: -300px"
                    />
                </div>
                <div
                    class="title-container"
                    data-layout-id="title-container-a"
                    data-layout="position"
                >
                    <span class="h6">Travel</span>
                    <h2 class="h3">5 Inspiring Apps for Your Next Trip</h2>
                </div>
                <div class="content-container small hidden">
                    <p class="big">
                        Love to travel? So do the makers of these five
                        subscription apps.
                    </p>
                </div>
            </div>
        </li>

        <!-- More cards... -->
    </ul>
</div>

<script type="module">
    // We'll add Motion code here
</script>

<style>
    /** Copy styles from example source code */
</style>
Each element that should animate has a unique data-layout-id. When the same ID exists in both the source and destination layouts, Motion animates between them.
The data-layout attribute controls how elements animate:
preserve-aspect- Maintains the element's aspect ratio during the animation (used for images)position- Only animates position, not size (used for the title container)
Let's animate!
Import from Motion
First, import the animateLayout function from Motion+ and animate for the overlay:
import { animateLayout } from "motion-plus"
import { animate } from "motion"
Set up state tracking
We need to track the animation state and which card is currently open:
let currentOpenId = null
let layoutControls = null
let isClosing = false
let overlayControls = null
const appStore = document.getElementById("app-store")
Define the transition
Create a shared transition configuration:
const transition = {
    duration: 0.5,
    ease: [0.39, 0.14, 0.26, 1],
}
This uses a custom cubic bezier easing curve that gives the animation a natural, iOS-like feel.
Create a layout animation wrapper
This helper function manages the layout animation lifecycle, ensuring only one animation runs at a time:
async function startLayoutAnimation(update, { closing = false } = {}) {
    if (layoutControls) {
        layoutControls.stop()
    }

    isClosing = closing

    const controls = await animateLayout(update, transition)
    layoutControls = controls

    controls.finished.then(() => {
        if (layoutControls !== controls) return
        layoutControls = null
        isClosing = false
    })

    return controls
}
The animateLayout function:
- Snapshots the current position of all elements with
data-layout-id - Runs the callback function (which modifies the DOM)
- Measures the new positions
- Animates from the old positions to the new positions
Add click handlers to cards
Set up click handlers on each card:
const cards = document.querySelectorAll(".card")
cards.forEach((card) => {
    card.addEventListener("click", async () => {
        const id = card.dataset.id

        await startLayoutAnimation(() => {
            openCard(id)
        })
    })
})
When a card is clicked, we call startLayoutAnimation with a callback that opens the card. The animateLayout function handles all the animation automatically based on the data-layout-id attributes.
Create the open card function
The openCard function creates the expanded modal version of the card:
function openCard(id) {
    if (currentOpenId) {
        closeCard()
    }

    currentOpenId = id

    const sourceCard = document.querySelector(`.card[data-id="${id}"]`)
    const theme = sourceCard.classList.contains("dark") ? "dark" : ""

    // Create overlay
    ensureOverlayVisible()

    // Clone the card content from the source
    const clonedContent = sourceCard
        .querySelector(".card-content")
        .cloneNode(true)

    clonedContent.id = `modal`

    // Create expanded card container
    const expandedCardContainer = document.createElement("div")
    expandedCardContainer.className = `card-content-container open ${theme}`
    expandedCardContainer.appendChild(clonedContent)

    // Make content visible
    const contentContainer =
        expandedCardContainer.querySelector(".content-container")
    contentContainer.classList.remove("hidden")

    document.body.appendChild(expandedCardContainer)

    return expandedCardContainer
}
This function clones the clicked card's content and places it in a fixed-position container. Because the cloned elements have the same data-layout-id values as the source, animateLayout automatically animates from the card position to the modal position.
Handle the overlay
The overlay fades in and out separately from the layout animation:
function ensureOverlayVisible() {
    let overlay = document.querySelector(".overlay")

    if (!overlay) {
        overlay = document.createElement("div")
        overlay.className = "overlay"
        overlay.style.opacity = "0"
        overlay.addEventListener("click", animateClose)
        appStore.appendChild(overlay)
    }

    overlay.style.pointerEvents = "auto"
    overlayControls && overlayControls.stop()
    overlayControls = animate(overlay, { opacity: 1 }, transition)

    return overlay
}

function fadeOverlayOut(overlay) {
    overlay.style.pointerEvents = "none"
    overlayControls && overlayControls.stop()
    const controls = animate(overlay, { opacity: 0 }, transition)
    overlayControls = controls
    controls.finished.then(() => {
        if (overlayControls !== controls) return
        overlay.remove()
    })
}
Add the close animation
Create a function to handle closing the modal:
async function animateClose() {
    if (!currentOpenId || isClosing) return

    const overlay = document.querySelector(".overlay")

    if (overlay) {
        fadeOverlayOut(overlay)
    }

    await startLayoutAnimation(closeCard, { closing: true })
}
The close animation removes the modal from the DOM inside the animateLayout callback. Motion automatically animates the elements back to their original positions in the card grid.
Implement the close card function
Add the cleanup function that removes the modal:
function closeCard() {
    if (!currentOpenId) return

    const expandedCardContainer = document.querySelector(
        ".card-content-container.open"
    )

    if (expandedCardContainer) expandedCardContainer.remove()

    currentOpenId = null
}
Add keyboard support
Finally, add support for closing the modal with the Escape key:
document.addEventListener("keydown", (event) => {
    if (event.key === "Escape" && currentOpenId) {
        animateClose()
    }
})Conclusion
We've built a polished card-to-modal interface using Motion's animateLayout function. By adding data-layout-id attributes to elements, Motion automatically tracks and animates layout changes. The data-layout attribute gives fine-grained control over how individual elements animate - preserving aspect ratios for images and animating only position for text. This declarative approach makes complex shared-element transitions straightforward to implement.
Related examples
Latest in JavaScript


Unlock all 400+ examples
- Source code for every Plus example.
- Provide examples direct to your agent via Motion's MCP.
- Lifetime access to new examples and APIs.