Introduction
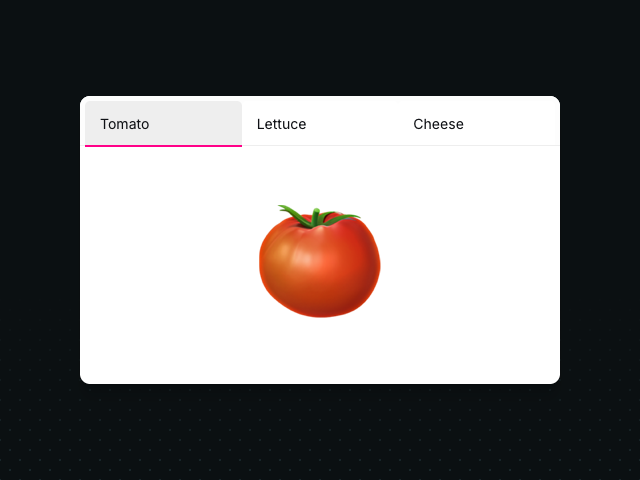
The variants example shows a common UI pattern: a hamburger menu that opens to reveal a navigation list. The animation is orchestrated, with the background, the list items, and the icon itself all animating in a coordinated sequence.
Managing this kind of complex animation manually would be difficult. This is where variants come in. In this tutorial, we'll learn how to use the variants API to define animation states and automatically propagate them through a tree of motion components.
Getting started
Let's begin with the basic structure of the menu. This includes the MenuToggle, Navigation, and MenuItem components, with the state to control the open/closed status. For now, it will be a functional but unanimated menu.
import { useEffect, useRef, useState } from "react"

export default function Variants() {
    const [isOpen, setIsOpen] = useState(false)

    return (
        <div>
            <div style={container}>
                <nav style={nav}>
                    <div style={background} />
                    <Navigation />
                    <MenuToggle toggle={() => setIsOpen(!isOpen)} />
                </nav>
            </div>
        </div>
    )
}

const Navigation = () => (
    <ul style={list}>
        {[0, 1, 2, 3, 4].map((i) => (
            <MenuItem i={i} key={i} />
        ))}
    </ul>
)

const MenuItem = ({ i }) => {
    return (
        <li style={listItem}>
            <div style={iconPlaceholder} />
            <div style={textPlaceholder} />
        </li>
    )
}

// MenuToggle, Path, styles, and useDimensions hook copied from example
Animating with variants
Variants are visual states with names.
const variants = {
    open: { height: "auto" },
    closed: { height: 0 },
}
These states can be passed to a motion component and then we can provide the names to animation props like initial and animate:
<motion.div variants={variants} initial="closed" animate="open" />What makes variants so powerful is children can also define their own variants:
const itemVariants = {
    open: { opacity: 1 },
    closed: { opacity: 0 },
}
And then these can be controlled via their parent:
<motion.ul variants={variants} initial="closed" animate="open">
    <motion.li variants={itemVariants} />
</motion.ul>
The real superpower is that the parent can now orchestrate when children animations are performed. Child animations can be played before or after those of the parent. Or using delayChildren after a set delay. This delay can also be staggered using the stagger() function.
With that in mind, let's see this in action.
Step 1: Animating the menu items
Let's start from the inside out. We want each MenuItem to fade in and slide up. We can define itemVariants for this.
const itemVariants = {
    open: {
        y: 0,
        opacity: 1,
        transition: { y: { stiffness: 1000, velocity: -100 } },
    },
    closed: {
        y: 50,
        opacity: 0,
        transition: { y: { stiffness: 1000 } },
    },
}
Now, we can convert our li to a motion.li and pass it these variants. We also add some whileHover and whileTap gestures to add some microinteraction animations.
const MenuItem = ({ i }) => {
    // ...
    return (
        <motion.li
            style={listItem}
            variants={itemVariants}
            whileHover={{ scale: 1.1 }}
            whileTap={{ scale: 0.95 }}
        >
            {/* ... */}
        </motion.li>
    )
}
Step 2: Orchestrating the list with stagger
We don't want the items to appear all at once. Instead, we want them to animate in one by one. We can achieve this on their parent, the Navigation component, using the stagger function.
The stagger function is a powerful tool that generates a dynamic delay for the delayChildren transition property, based on the child index.
- For the
openvariant, we'll wait0.2seconds before starting, then animate each child with a0.07sdelay. - For the
closedvariant, we'll use{ from: "last" }to stagger in reverse, making the items disappear from the bottom up.
import { stagger } from "motion/react"

const navVariants = {
    open: {
        transition: { delayChildren: stagger(0.07, { startDelay: 0.2 }) },
    },
    closed: {
        transition: { delayChildren: stagger(0.05, { from: "last" }) },
    },
}

const Navigation = () => (
    <motion.ul style={list} variants={navVariants}>
        {/* ... */}
    </motion.ul>
)
Step 3: Animating the background
The background uses a different technique: a circular reveal created by animating a clip-path.
The sidebarVariants define a closed state with a small circle around the menu icon, and an open state with a circle large enough to cover the entire menu.
Notice the open variant is a function: open: (height = 1000) => ({ ... }). This is a dynamic variant. It can receive a value from the parent's custom prop. We do this to pass in the measured height of the menu, ensuring our circle is always big enough.
const sidebarVariants = {
    open: (height = 1000) => ({
        clipPath: `circle(${height * 2 + 200}px at 40px 40px)`,
        // ... transition
    }),
    closed: {
        clipPath: "circle(30px at 40px 40px)",
        // ... transition
    },
}
Step 4: Putting it all together
Finally, we assemble everything in our main component. The top-level motion.nav component acts as the orchestra conductor.
animate={isOpen ? "open" : "closed"}: This single prop controls everything. WhenisOpenchanges, it tells all children to switch to the new variant state.custom={height}: This passes the measured height of the container down to any dynamic variants that need it (like oursidebarVariants).
Here is the final top-level component:
import * as motion from "motion/react-client"
// ...

export default function Variants() {
    const [isOpen, setIsOpen] = useState(false)
    const containerRef = useRef(null)
    const { height } = useDimensions(containerRef)

    return (
        <div>
            <div style={container}>
                <motion.nav
                    initial={false}
                    animate={isOpen ? "open" : "closed"}
                    custom={height}
                    ref={containerRef}
                    style={nav}
                >
                    <motion.div style={background} variants={sidebarVariants} />
                    <Navigation />
                    <MenuToggle toggle={() => setIsOpen(!isOpen)} />
                </motion.nav>
            </div>
        </div>
    )
}
Conclusion
In this tutorial, we learned how variants can simplify complex, orchestrated animations. By defining named animation states, we can control a whole tree of components with a single prop. We also saw how to use the stagger function to create beautiful cascading sequences and how to pass data to animations using the custom prop and dynamic variants.