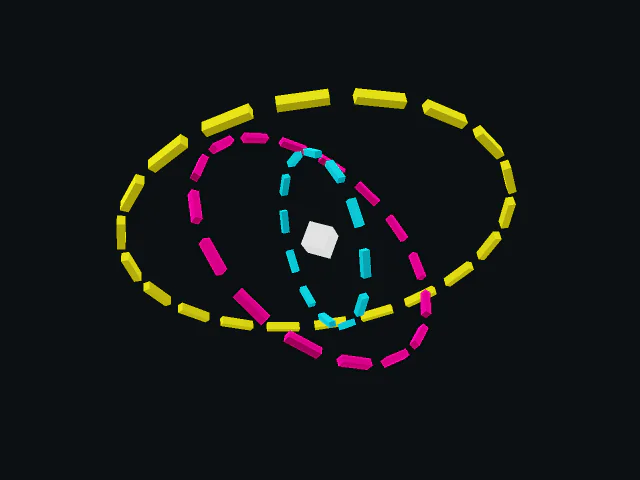
vgpu is a small agent-first WebGPU library from Vercel.
Motion can animate vgpu:
- Shared uniforms
- Bindings for effects, draws and compute shaders
- Cameras
- Lights
- Materials
- Orbit controls
All updates are batched in Motion's frameloop alongside other DOM writes.
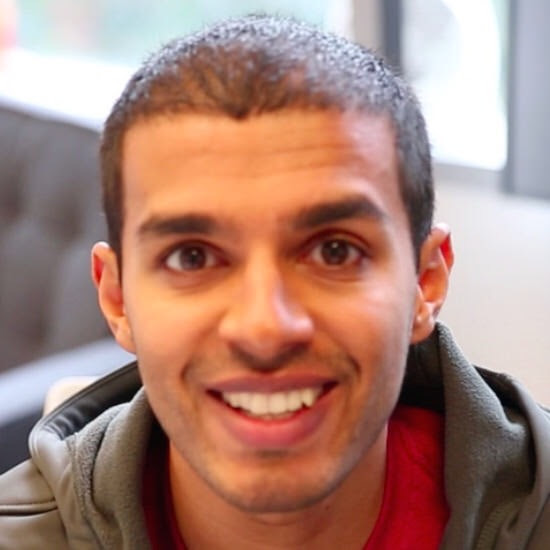
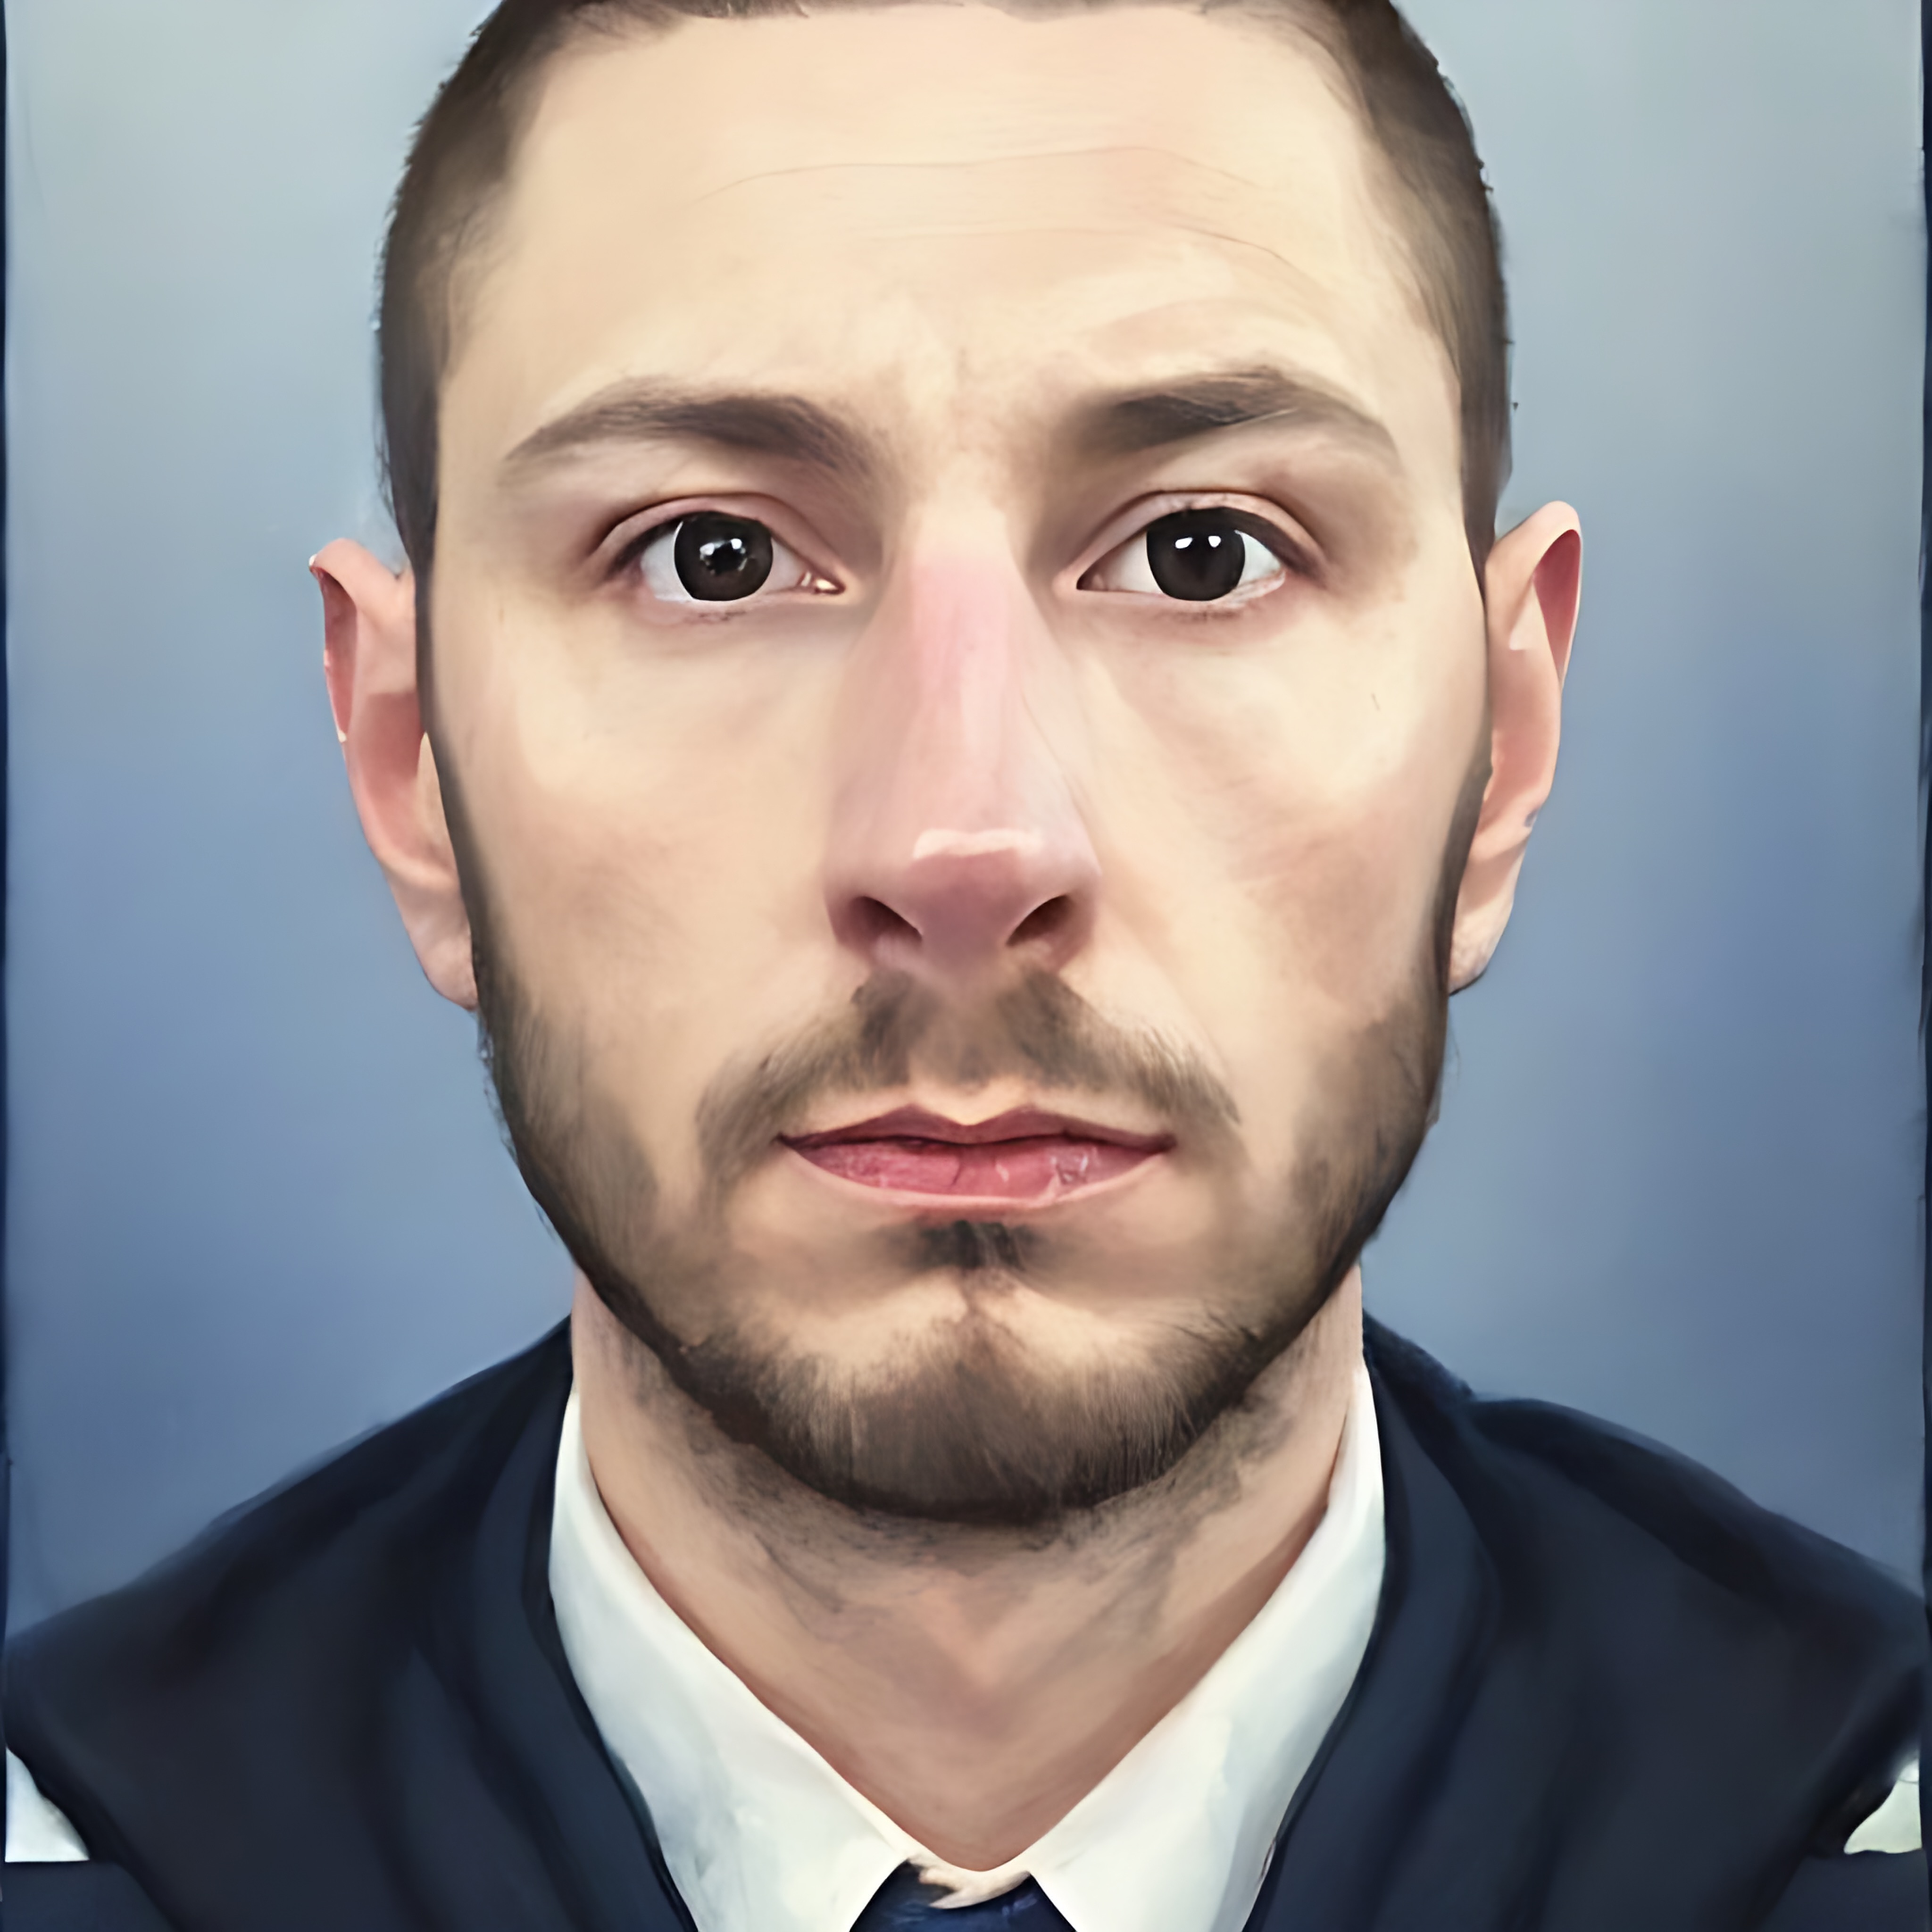
The same animate() call can drive shader bindings. Here, particles from a photograph swirl into a globe, then reconstruct the image at rest.
Install
motion/vgpu ships inside the motion package. Install it alongside vgpu:
npm install motion vgpuThen register the effect once, somewhere that runs before your first animation:
import { animate } from "motion"
import { vgpuEffect } from "motion/vgpu"

animate.addEffect(vgpuEffect)vgpuEffect will be used to render shared uniforms, effects, draws, compute shaders, scene nodes, materials, orbit controls and targets.
Usage
Shared uniforms
uniforms() creates a uniform buffer shared between shaders. Animate its members by name:
import { uniforms } from "vgpu"

const globals = uniforms(gpu, { progress: 0, intensity: 1 })

animate(
  globals,
  { progress: [0, 1] },
  { duration: 1, ease: "easeInOut" }
)vgpu doesn't keep a readable copy of uniform values, so the first time you animate one you need to provide both keyframes. From then on Motion tracks the value itself, and a single target is enough:
animate(globals, { progress: 0 })Effects, draws and compute
Effects, draws and compute shaders group their uniforms into WGSL structs. Address a member with a dot path, "binding.member", exactly as the shader declares it:
import { effect } from "vgpu"

const wave = effect(gpu, shader, {
  set: {
    params: { time: 0, speed: 1 }
  },
})

animate(wave, {
  "params.time": [0, 1],
  "params.speed": [1, 2],
})Both members land in a single wave.set({ params: { time, speed } }) each frame. The same works for draw(), compute() and shaderMaterial().
A binding the shader declares on its own, rather than inside a struct, is animated by its bare name:
// In the shader
// @group(0) @binding(0) var<uniform> time: f32;
// @group(0) @binding(1) var<uniform> speed: f32;

const wave = effect(gpu, shader, { set: { time: 0, speed: 1 } })

animate(wave, { time: [0, 1], speed: [1, 2] })Shader materials do expose their current values, so Motion can read the starting point and a single target keyframe is enough:
import { shaderMaterial } from "vgpu/scene"

const material = shaderMaterial(shader, {
  set: {
    params: { glow: 0 }
  },
})

// Reads glow from material.values, then animates 0 -> 1
animate(material, { "params.glow": 1 })Named transitions use the same key:
animate(
  wave,
  { "params.time": 1, "params.speed": 2 },
  { duration: 1, "params.speed": { type: "spring" } }
)Colours
Like Motion, vgpu shaders work in linear RGB. Pass any CSS colour string and Motion converts it, the same way vgpu's srgb() helper does:
animate(wave, { "params.tint": ["#0cc2e0", "#fbbf24"] })
animate(material, { color: "#f43f5e" })Colours are written as three components. If the current value has four (a target's clearColor, say), the alpha channel is included:
animate(target, { clearColor: "rgba(9, 9, 11, 1)" })Vectors
A whole vector can be animated as a string of numbers. Motion interpolates each number and writes the result as an array:
animate(wave, { "params.mouse": ["0.5 0.5", "0.2 0.8"] })Once a vector is known, either because the subject exposes it or because you've animated it before, you can animate a single axis by adding a suffix to its name:
animate(light, { directionX: 1 })
animate(controls, { targetX: 2, targetZ: -1 })
animate(wave, { "params.mouseX": 0.5 })Scene nodes
Nodes from vgpu/scene (mesh(), group(), cameras, lights) accept the same transform shorthands as HTML elements:
- Translate:
x,y,z - Rotate:
rotateX,rotateY,rotateZ(in degrees) - Scale:
scale,scaleX,scaleY,scaleZ
import { box, mesh } from "vgpu/scene"

const cube = mesh(box({ size: 1 }), material)

animate(
  cube,
  { x: 1, rotateY: 180, scale: 1.25 },
  { type: "spring", visualDuration: 0.7, bounce: 0.25 }
)Cameras, lights, materials and orbit controls
Anything with a readable property and a set() works, with no keyframes needed:
animate(camera, { fov: 70 }, { duration: 1 })

animate(light, {
  intensity: 2,
  color: "#ffd27a",
  directionX: 1,
})

animate(material, { color: "#f43f5e", opacity: 0.65 })

animate(controls, {
  yaw: controls.yaw + Math.PI,
  pitch: 0.6,
  distance: 8,
})Orbit controls make camera presets a single animate() call, and a drag part way through picks up from wherever the animation is:
Sequences and stagger
vgpu subjects can be mixed with DOM elements in a sequence, or staggered as an array:
animate([
  ["h1", { opacity: 1 }],
  [cube, { rotateY: 180 }, { at: "<" }],
  [wave, { "params.time": 1 }, { at: "-0.5" }],
])

animate(cubes, { y: 1 }, { delay: stagger(0.1) })One thing to watch when DOM and vgpu animate in the same frames: a layout-backed surface() measures its canvas every frame, and that read after Motion's style writes forces layout. Create the surface with autoResize: false and resize it from a ResizeObserver instead.
Motion values
Every animated property is backed by a motion value. Repeated animate() calls on the same property reuse it, which is how a spring picks up the velocity of the animation it interrupts.
You can also bind your own motion values by calling vgpuEffect directly, the same way you'd use styleEffect on an element. It batches writes into one set() per frame and returns a cleanup function:
import { animate, motionValue } from "motion"
import { vgpuEffect } from "motion/vgpu"

const intensity = motionValue(1)

const cancel = vgpuEffect(globals, { intensity })

animate(intensity, 2, { type: "spring" })A later animate(globals, { intensity: 0.5 }) finds and animates the same motion value, so the value never needs [from, to] keyframes once it's bound.
Rendering
Motion writes to vgpu during the preRender step of its frameloop, so render in the render step:
import { cancelFrame, frame } from "motion"
import { frame as vgpuFrame } from "vgpu"

function render() {
  vgpuFrame(gpu, (currentFrame) => {
    currentFrame.pass(canvasSurface, wave)
  })
}

frame.render(render, true)If your shaders read clock(gpu).time, advance vgpu's clock from the same loop rather than running frameLoop() next to it, so both timelines agree (see vgpu's external ticker guide to learn more):
const time = clock(gpu)

frame.update(({ delta }) => time.advance(delta / 1000), true)